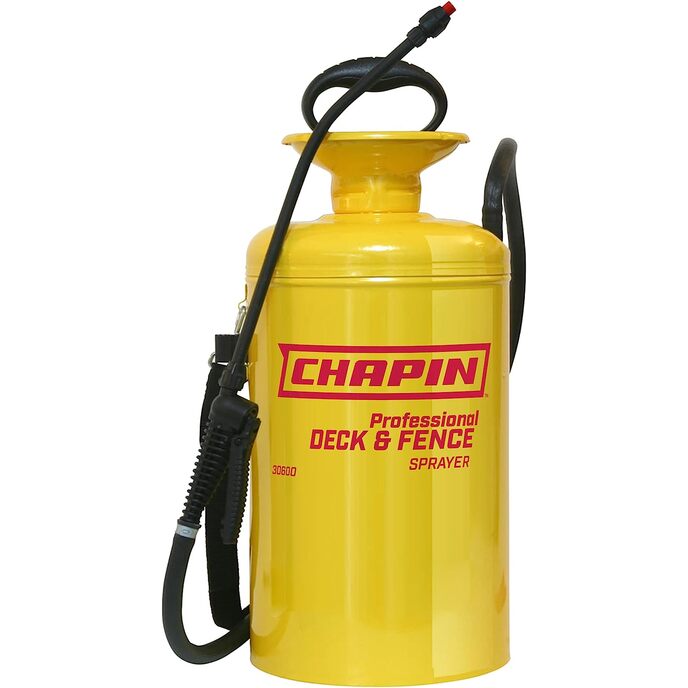
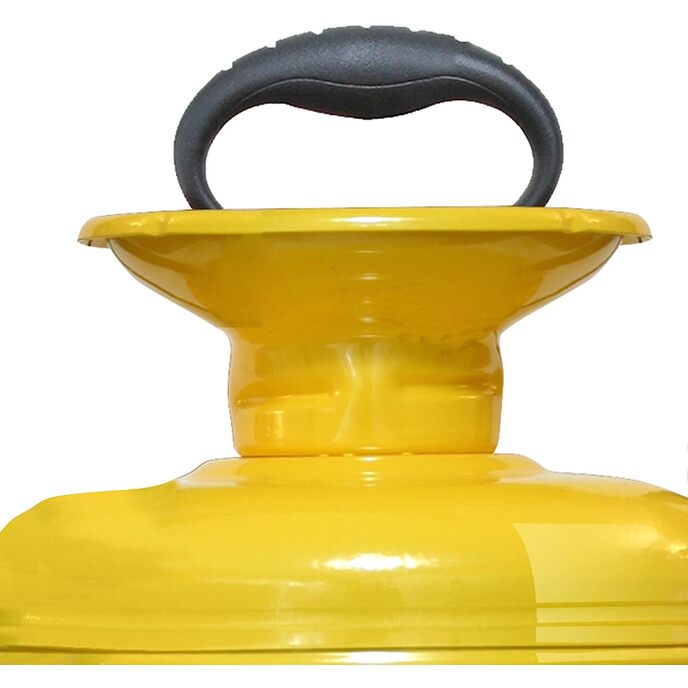
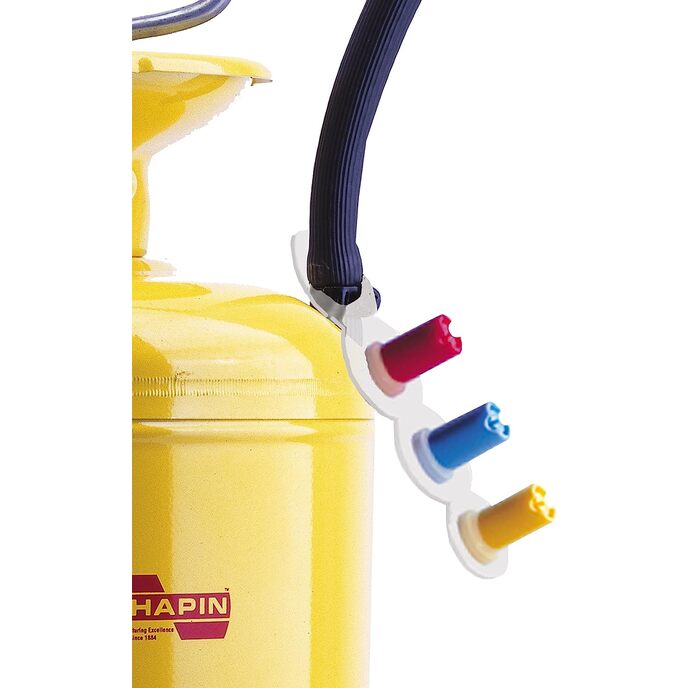
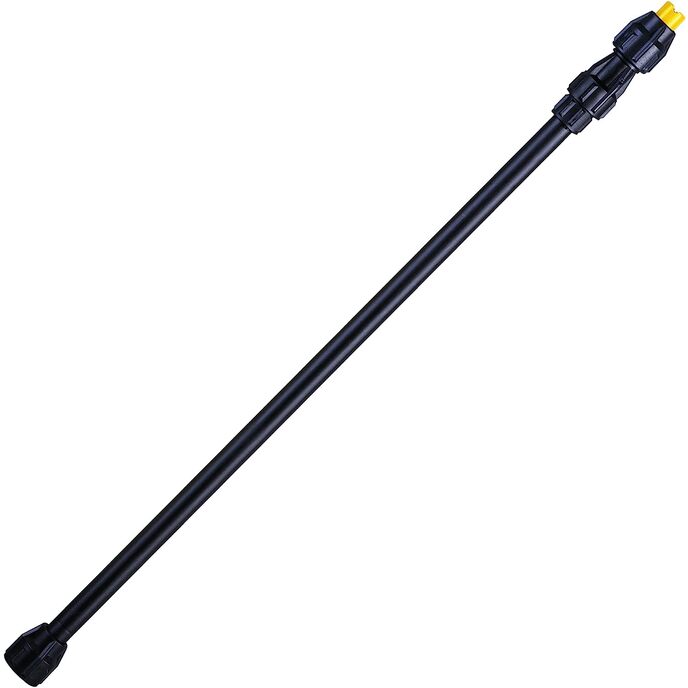
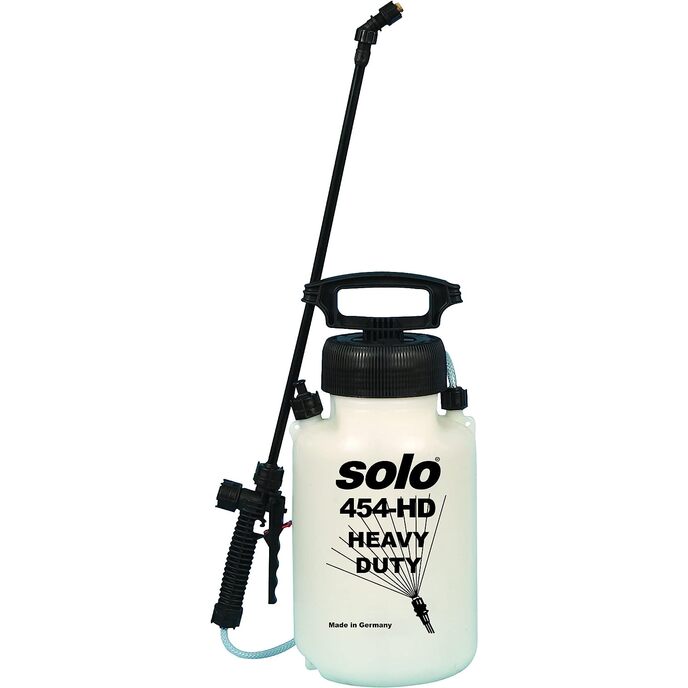
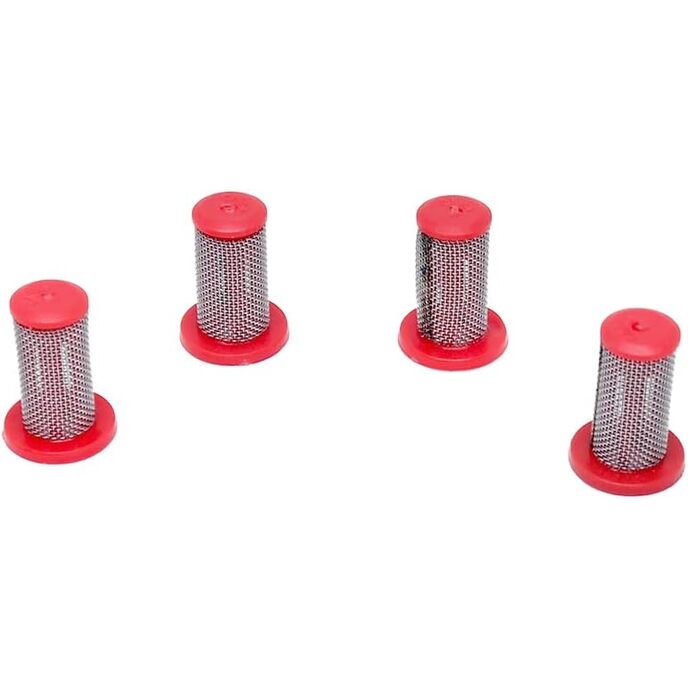
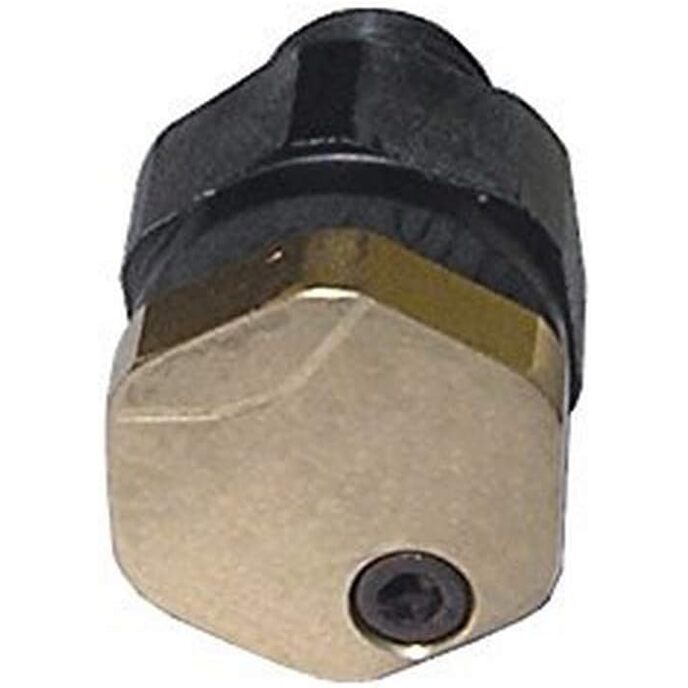
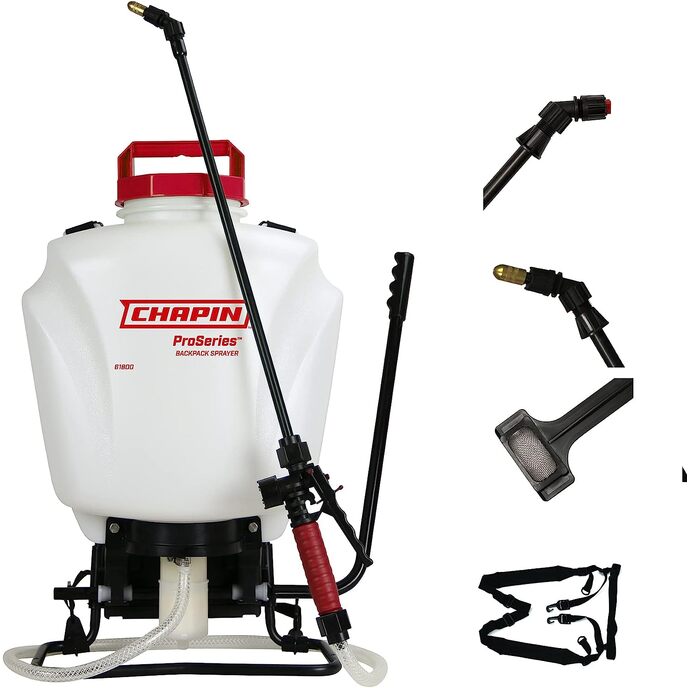
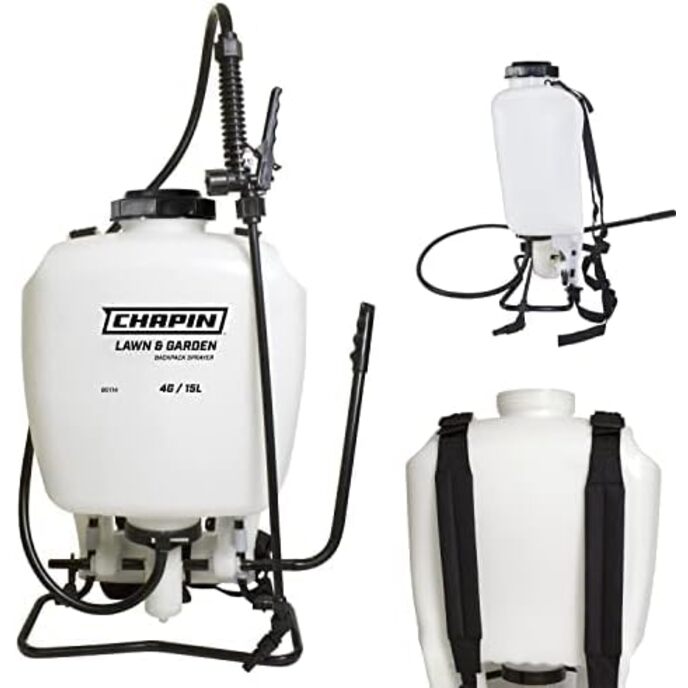
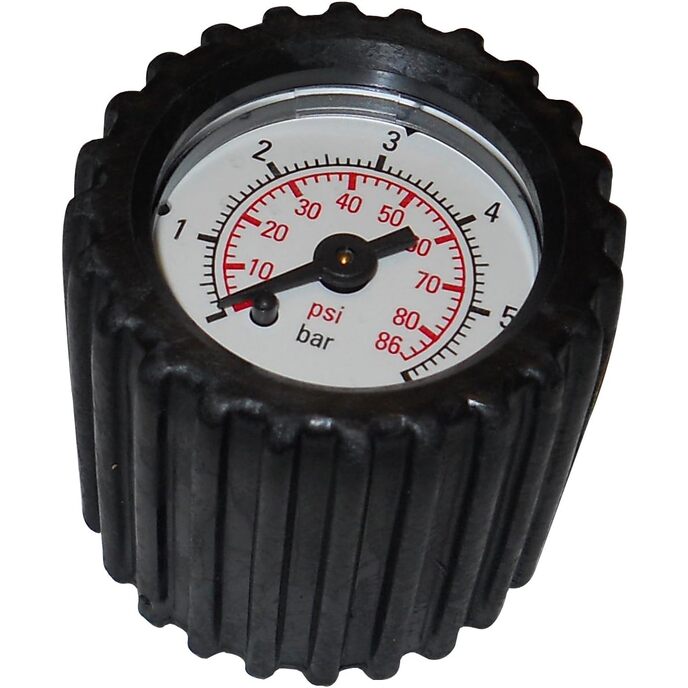
Interesting spread on the review points for this product - people either love it or hate it! The problem seems to be with using stains. The manufacturer says the sprayer works for TRANSPARENT stains. So, what is a "transparent" stain? In the deck industry it seems there are clear, semi-transparent, and solid deck stains. The clear being mostly a low-viscosity penetrating type product and the solid being a product with a high solids content and is meant to reside on the surface of the wood. The trade-off being between a product that penetrates to preserve the wood and one with a high solids content to provide UV protection. I will be using this for the TWP 100 product on a cedar fence and is classed as a semi-transparent stain & preservative - mostly a penetrating type product with a little anti-UV pigment added to maintain the natural cedar color of the wood and an anti-fungal additive to resist decay. I will try to update this review after I receive the sprayer and use it with the TWP 100 stain. 12 July 2017, Update Just used the Chapin 30600 to apply 5 gal of TWP 100 (TWP 100 is a semi-transparent, oil-based, penetrating wood preservative and stain.TWP/Gemini TWP101-1G TWP Total Wood Preservative, Cedar ~ One Gallon ) to 100' of ceder fence. EVERYTHING WORKED AS ADVERTISED (with a few user caveats explained below). The sprayer comes with 4 tips: Black (basic cone spray pattern, unknown gallon per minute flow), Red ( fan pattern, .24 gpm flow), Blue (fan, .38 gpm), and Yellow (fan, .56 gpm). Also comes with a 12" wand tube and an 18" - these can be connected together to make a 30" wand. The instructions say to use the Yellow tip for semi-transparent stains, so I did and everything worked out pretty well, aside from the following learning-curve items: 1) According to the flow rate, with the Yellow tip you are putting out over 1 gallon of stain every two minutes - that is A LOT of product getting laid down compared to using a brush or roller. So, this means get your work area cleared and your work path planned out ahead of time because once you get going you need to keep moving or else you will be getting runs. With a little pre-planning, this sprayer is a very efficient and effective tool for getting this annual chore done quickly with good results. 2) This is an "Old-School" device - that means it employs a clever use of some physics principle, muscle power, and a savvy interpretation and adjustment of some variables to get the results you want. Don't fill this all the way to the top (or even to the marked "2 gallon" line - only fill it about 2/3 full because the volume of air (after you pressurize it) is what will be doing the work for you. Next. insert and screw down the pump cartridge and start pumping to pressurize your air space (build up your "head pressure"). The manual says to pump until you feel "resistance". Wrong!... Keep pumping! Use both hands to keep steady because the pump rod is only plastic and not very strong in side loads. Everyone has their own level of arm strength, but keep pumping with both hands until it takes a definite amount of strength to push the pump handle all the way down (While remembering this part is only plastic!). Do a quarter turn with your pump handle to lock it and now it becomes your carrying handle. 3) You should be getting a nice, pressurized fan-spray pattern. If not, then you probably have one of two basic problems: not enough head pressure to start with or you need to stop and give several pumps to restore the head pressure (remember your fluid level is going down by over 1/2 gallon every 60 seconds and you need to pump in more air to fill that space with head pressure). Or... 4) ...You have something plugged. I had two trouble sources in my project - small amounts of gelled product or small clumps of pigment solids, and there were small fibers of some kind at the bottom of the can of stain - possibly from when I was brushing some product on a wood project last year. There is a small strainer that can go in next to the nozzle tip (but I left it out), or the valve in the handle is VERY susceptible to clogging. Save your instructions and read them as they show you how to take the handle off and use it as a tool to unscrew the valve. The liquid flows through a spring and makes a U-turn back out, thus, the spring inadvertently becomes a strainer that will cause clogs. Suggest pouring your product through a strainer, or funnel with a strainer, to avoid these problems. 5) When the sprayer is empty, there will probably still be pressure left inside. DO NOT OPEN THE SPRAYER UNTIL YOU SAFELY RELEASE THE PRESSURE! You could bleed pressure off through the spraying wand (too slow) or put a rag over the top and slowly and just slightly unscrew the pump cartridge until you hear the air rush out. Although the sprayer seems empty, there is still residual product in the threads that the pressure will blow as a mist of chemicals into your eyes, nose, and mouth if you do not cover it with a rag. Revising my preliminary rating from 5 stars down to 4 due to: 1) Other than the tank (which seems well made) the rest of the unit is plastic. And, although every thing functioned well today, the handle needs to be thicker and have more substance to it. And, the shaft between the handle and plunger/piston needs to be stronger as it flexes a lot during pumping 2) The valve and nozzle designs are susceptible to clogging 3) Don't see why Chapin could not also rate one of their stainless steel + more metal in the pump construction models for use with semi-transparent deck stain. Bottom line - for the price point this is at, it seems to be a good buy and a good sprayer. I recommend it.